Today, many podcast hosts are looking for affordable, simple solutions for high-quality remote audio recording. And I know it brings up a lot of questions, like…
- Should you use your phone?
- Is Zoom a good solution?
- And is there a way you can do this for free?
Although recording remotely may feel complicated at first, I promise that it’s much simpler than it seems.
And you can trust me on this, because I’ve been interviewing guests remotely for 4+ years. As the host of both Everything is Teachable and the Wit & Wire podcast (for podcasters), I’ve interviewed guests in Spain, Australia, France, and all across America from my home in New York City. And the good news is that anyone with an internet connection and an affordable microphone can record remotely.
So if you’re thinking about starting a podcast, or already have one and need to adjust your typical recording plans, here are the main tools you’ll need to record high-quality remote content, even if you live thousands of miles apart.
#1: Capture remote audio recording with Zencastr
Zencastr is my favorite remote recording tool for podcasters, and it’s been my go-to tool for 4+ years. (And before you worry how expensive it might be, it’s free!)
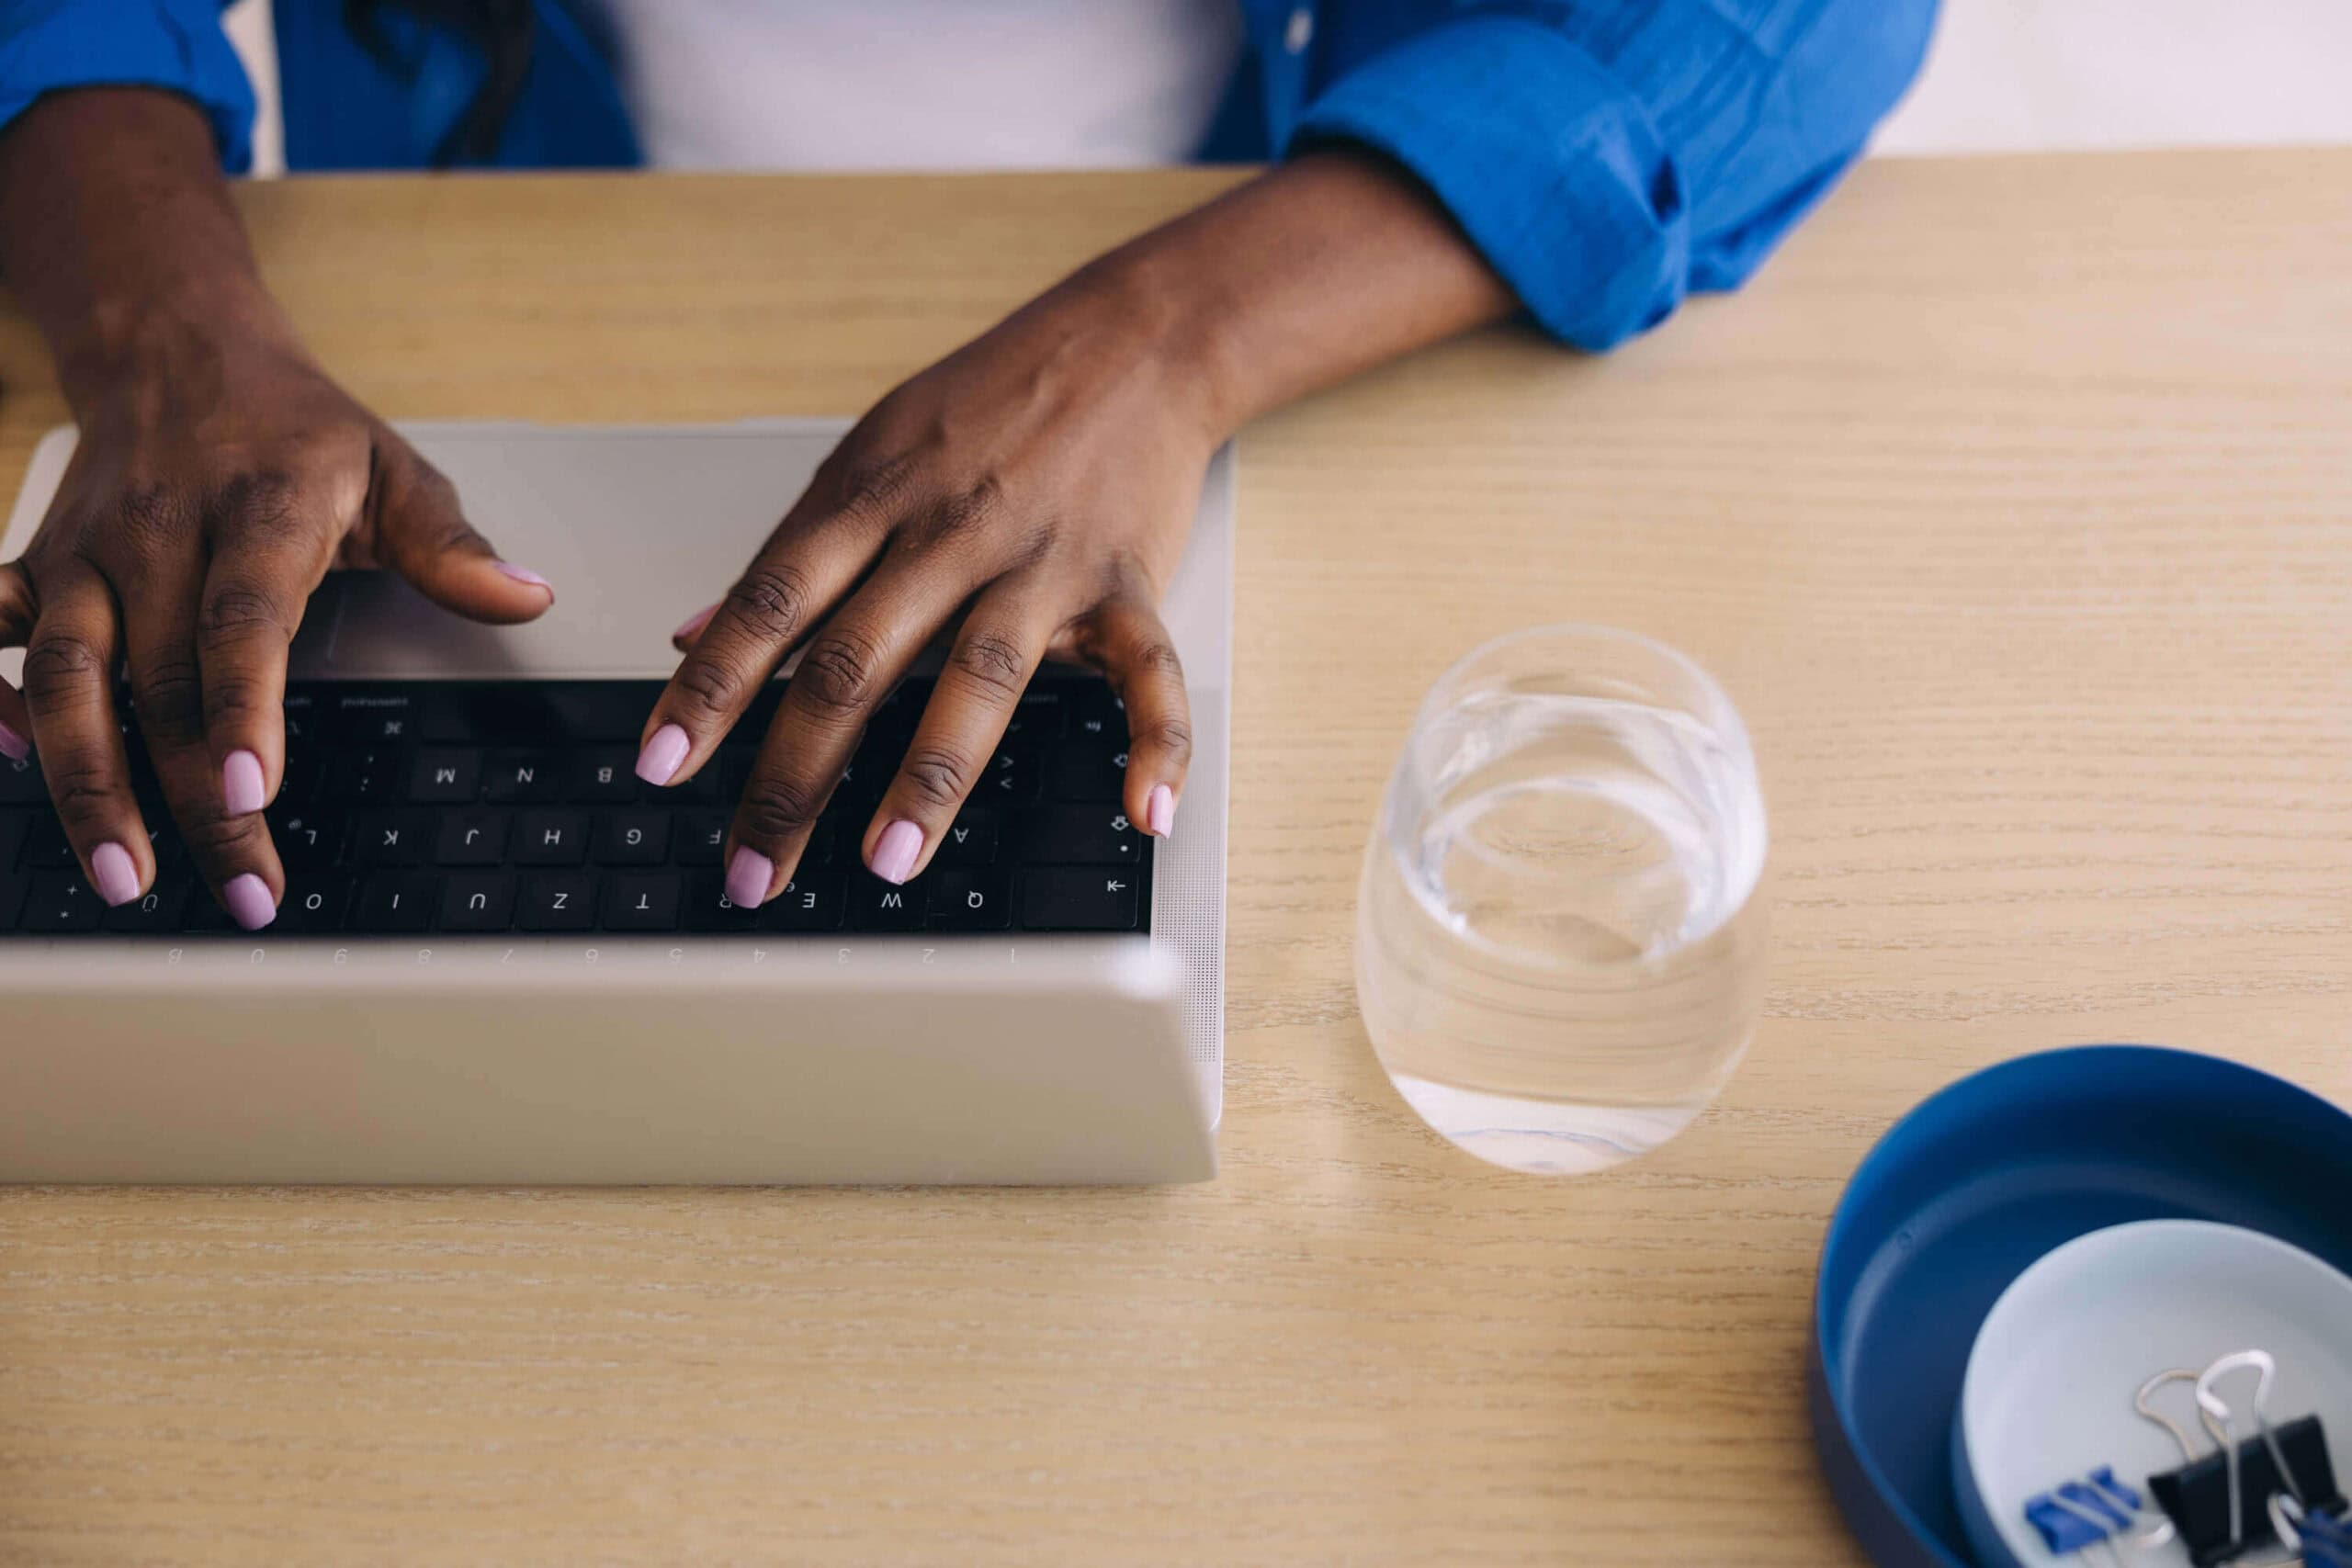
The concept is simple: you and your guest (you can have an unlimited amount of guests depending on your plan) begin a voice call through your computer browser. Press record, and you’re good to go.
That’s it!
The great thing about Zencastr is that you don’t have to download any software. Everything is cloud-based. This means less hassle and more accessibility for you.
Another great thing about Zencastr is that it uses multitrack recording, which means that each person’s voice is recorded to a separate audio track. The host can then download each individual track and edit them and put them together, although you also have the option to automatically save your files to the cloud (Google Drive or Dropbox), which I personally love.
Multitrack recording is crucial. Imagine your guest sneezing while you say something brilliant. With multitrack recording, you can edit out that sneeze from one track, no problem. But on Zoom, your voices would both be included in a single-track recording, which means that the sneeze is unremovable, even by the best editors.
Optionally, you can also see your guests over video, or even record video as well. (This part isn’t free, but it’s still my favorite option over Zoom at roughly $20/mo.)
The only part of Zencastr that I don’t use are their editing tools. We’ll talk more about that in a second, but other tools will offer a better post-recording editing experience.
If you’re looking for an alternative remote recording tool, Squadcast is another popular choice, although they’re a bit more expensive. Zoom is another alternative, but because Zencastr’s audio quality is so much better, I would recommend it over Zoom for almost all hosts. (Even now that Zoom does have multi-track recording as an option, the final output is still lower-quality audio than Zencastr.)
#2: A high-quality microphone
Microphone recommendations might be the top thing I’m consistently asked about. And for good reason! There are tons of microphones out there, at all different price points, and choosing can feel overwhelming.
As you may know, the Blue Yeti is my favorite microphone for most new podcasters. You can check out my full writeup on microphones with links to options at any budget here.
The Blue Yeti is a USB condenser microphone at a reasonable price point with great audio quality. As soon as you take it out of the box, you can plug the USB into your computer and start recording.
“Does my guest need a microphone?”
Great question. As long as they have headphones with a microphone – like Apple earbuds – they should be ok.
Of course, it would be wonderful if they also have a high-quality microphone, but most listeners will forgive their OK audio as long as your host audio is sharp.
#3: Everyone needs headphones
Headphones are a must for both you and your guest, and here’s why.
Without headphones, your microphone will pick up your voice, but it might also pick up your guest’s voice coming out of your computer. So by wearing headphones, you’re shielding your microphone from hearing your guest. (And the same is true for your guest and their mic.)
The good news is that any headphones you already own should do the trick. If you have the option, I recommend wired headphones instead of Bluetooth, but it’s only because they’re slightly more reliable. Bluetooth is technically ok, but for both you and your guest, any headphones you already own are perfect. And again, if your guest doesn’t have a separate microphone, you’ll want to recommend that they choose headphones with a built-in microphone for the best possible audio quality.
#4: Smooth out your sound with a pop filter
A pop filter is an inexpensive sound muffler for your microphone that will make “p” sounds less harsh. (They won’t “pop” as much.) For under $20, this is a must-have accessory, no matter which microphone you choose.
Here’s a Pop Filter For Blue Yeti Microphones and another option for Blue Yeti and Any Other Microphone. (Option 2 is cheaper, but I think the arm is slightly harder to attach to your microphone. )
#5: Edit using Hindenburg
I’ve tried plenty of tools, but Hindenburg is my hands-down favorite editing tool for podcasters. Even if you’ve never edited audio in your life, Hindenburg makes it easy to get started.
- User-friendly interface for both recording and editing. (Beginner friendly!)
- Automatically levels your audio
- Easy to add in music, intros, outro
I get no referral commission for recommending Hindenburg. I just love the tool! (It’s still much cheaper than other tools, like Adobe Audition or Logic Pro at $90, one-time. And I believe it’s easier to learn, too.)
If you’re interested in learning more about editing, I have a beginner-friendly course called Essential Podcast Editing.
Save to Pinterest:

Transparency Disclaimer: This post contains Amazon links. As an Amazon Associate, we earn from qualifying purchases.